Field Caping a Buck: The Ultimate Preparation for the Taxidermist
Do not ruin your trophy of a lifetime with a bad knife cut. Follow this strict, step-by-step guide to properly field-cape your buck to ensure a museum-quality shoulder mount.
After spending five grueling years chasing the ghost of a specific, massive whitetail buck, the absolute last thing you want to do is ruin the trophy of a lifetime in the final hours of the hunt.
At Wildsnap, our team has spoken with dozens of frustrated, highly skilled taxidermists across the country. Their number one complaint is nearly universal: Hunters constantly “short-cape” massive bucks because they simply do not understand the sheer volume of animal hide required to stretch over a large foam manikin.
Field Caping is not just aggressively cutting skin off meat; it is a highly technical process of hide preservation that demands surgical precision and spatial awareness. If you butcher the cape in the woods, no amount of taxidermy magic can seamlessly hide the massive stitches on your living room wall.
1. The “Rule of Threes” for Mount Integrity
The single biggest, most devastating mistake a hunter can make is cutting the cape too close to the buck’s neck to save time. If you want a modern Pedestal Mount, an aggressive “semi-sneak,” or any pose that shows the buck’s massive front shoulders, you need twice as much hide as you biologically think you do.
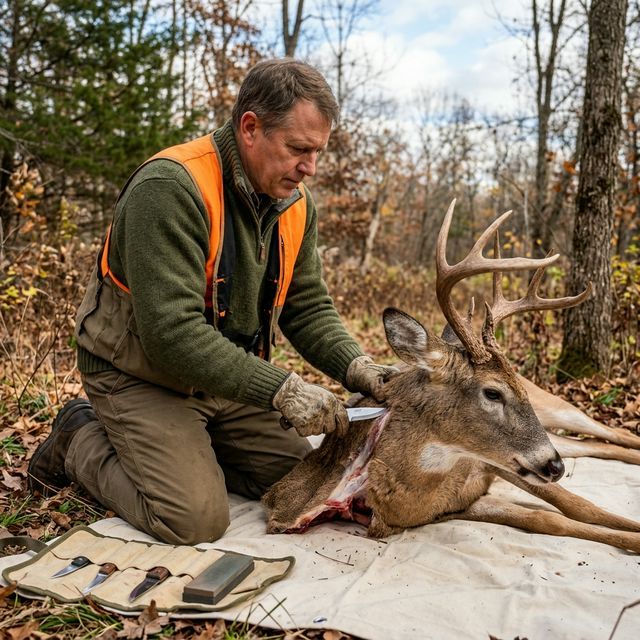
The Midsection Cut (The “Hula Hoop”)
- The Mark: Do not cut anywhere near the neck. You must make a massive, continuous circular cut entirely around the deer’s body (like a hula hoop) at least 6 to 8 inches behind the front shoulder blades. In a mature buck, this cut should essentially fall right along the middle of his ribcage.
The Leg Junctions
- The Tube Cut: Once the midsection is cut, slice a tight circle entirely around the front legs just below the “knee” joint.
- The Hidden Seam: This is critical: Make a single slice straight up the absolute back of the leg (the trailing edge where the brown hair meets the white hair), running entirely from the knee cut directly up into the armpit. Cutting along the back of the leg allows the taxidermist to perfectly hide the stitched seam against the wall in the final mount. Do not cut up the front or the side of the leg.
2. Preserving the Face: Less is Definitely More
Once you have tubed the massive cape forward over the shoulders and up to the neck, the real danger begins. The skin around the eyes, the delicate tear ducts, and the lips are incredibly thin and practically paper-like.
- The Golden Rule: If you are not a professional taxidermist, stop cutting at the base of the skull/neck. Do not attempt to skin the face yourself in the dirt.
- The “Y” Cut (Only if necessary): If you absolutely must remove the skull in the backcountry, make a “Y” incision starting slightly behind the antlers, coming to a point behind the skull, and running straight down the back of the neck.
- The Neck Chop: The safest, most preferred method by modern taxidermists is simply “tubing” the neck hide all the way up to the ears like a giant, inside-out sock. Then, take a bone saw and completely sever the spinal column and meat at the base of the skull. You hand the taxidermist the full cape with the entire skull and face still securely attached inside it. Your taxidermist would vastly prefer to use their own microscalpels in a sterile, well-lit studio to safely skin the delicate tear ducts themselves to avoid permanent, un-fixable damage.
HIDE SAFETY: Avoiding Catastrophic Hair Slippage
Heat and moisture are the absolute, mortal enemies of a trophy deer mount. If you do not quickly cool the cape, the bacteria left on the skin will aggressively multiply.
- The Slippage Phenomenon: This bacterial growth violently attacks the roots of the hair follicles, causing a devastating phenomenon known as Hair Slippage. When the taxidermist pulls the cape out of the tanning bath, massive fist-sized chunks of hair will literally slide right off the leather, completely destroying the multi-thousand-dollar mount. In 70-degree early-season weather, slippage can begin in as little as 4 hours.
- The Plastic Bag Trap: Never, under any circumstances, place a freshly removed, warm bloody cape inside a sealed black plastic garbage bag in the back of your truck. The plastic completely traps the animal’s body heat, creating a humid incubator that massively accelerates bacterial rot.
- Cooling Protocol: You must lay the cape completely open on the concrete floor of a garage or over a fence to let the body heat escape into the air. Roll the skin flesh-to-flesh, place it in an open breathable game bag, and get it directly onto ice or deep into a chest freezer immediately. Additionally, never aggressively drag a massive buck by the neck with an ATV; the friction will violently rip the hollow hair, permanently ruining the shoulder mount.
Treat the cape with the exact same immense respect and urgency as the organic meat. A properly preserved, perfectly caped buck is the foundation of a professional-grade tribute to a life lived in the deep woods.