
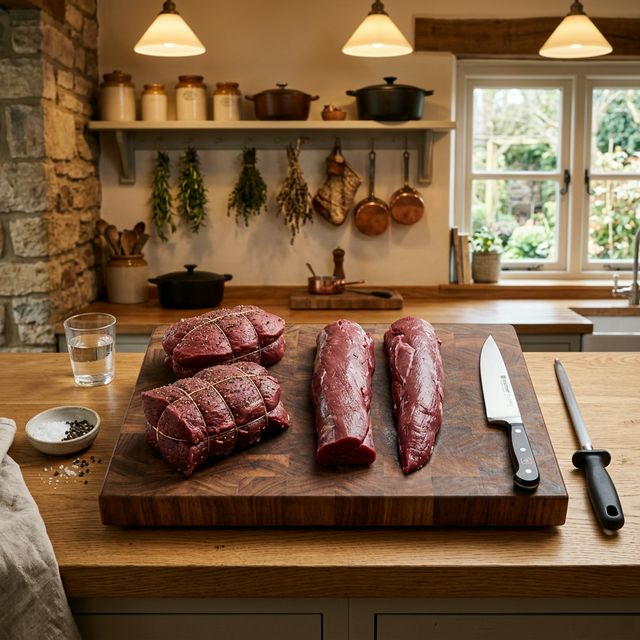
Canning Venison: The Complete Homestead Hunter's Guide to Meat Preservation
Pressure-can venison safely: raw-pack steps, PSI by altitude, 75/90-minute times, botulism prevention, storage tips, and common canning mistakes.
Freezer space disappears fast after a good season. Pressure canning turns roasts and shoulder meat into fork-tender, shelf-stable jars that keep 2 to 3 years in a cool, dark pantry—without freezer burn.
The high heat also breaks down connective tissue in older bucks, giving you ready protein for chili, stews, tacos, and quick dinners. Done wrong, though, low-acid meat can harbor botulism. Follow tested pressure processes only—never improvise with a water bath.
Why Can Venison Instead of Only Freezing?
- Shelf-stable backup when freezers fail
- Better use of shanks, necks, and shoulders
- Fully cooked convenience food
- Less long-term quality loss than poorly wrapped frozen meat
Canning complements—not replaces—steaks and backstraps you may still vacuum-seal. Process trim and braise cuts first. For whole-animal breakdown, see DIY venison processing.
Raw-Pack Method Step by Step
Raw-pack is clean and flavorful for venison.
- Trim hard: Cube into roughly 1-inch pieces. Remove fat, silver skin, and bone. Venison fat goes rancid and bitter in jars.
- Jars: Use clean mason jars (wide mouth helps). Inspect rims for chips.
- Pack: Pack meat firmly, leaving 1 inch of headspace.
- Salt (optional): About ½ teaspoon per pint or 1 teaspoon per quart of canning salt—not iodized table salt loads of anti-caking agents if you want clearest broth.
- No liquid needed: Meat releases broth during processing.
- Lids: Wipe rims, apply new flat lids, screw bands fingertip-tight.
- Load canner per manufacturer directions with required water and rack.
Hot-pack (pre-sear/simmer) is acceptable if you follow a tested recipe; raw-pack remains the simplest for most hunters.
Pressure, Altitude, and Time—Non-Negotiable
Venison is low-acid. Boiling-water bath canning cannot make it safe.
- Use a weighted-gauge or dial-gauge pressure canner (not a simple pressure cooker unless it is rated and instructed for canning).
- Target jar temperatures around 240°F, reached at pressure—commonly 10 to 15 PSI depending on altitude and gauge type.
- Pints: process 75 minutes at correct pressure.
- Quarts: process 90 minutes at correct pressure.
- If pressure drops below target at any point, bring it back and restart the full timer.
Consult your canner manual and USDA/extension altitude charts for your elevation. Dial gauges need yearly testing at many extension offices.
Cooling, Seals, and Storage
- Let the canner depressurize naturally; do not force-cool with water.
- Remove jars to a towel; leave undisturbed 12 to 24 hours.
- Lids should be concave and not flex. Remove bands for storage if you like to spot corroded failures later.
- Label with date and cut.
- Store 50–70°F dark pantry when possible.
- Unsealed jars: refrigerate and eat in 2 to 3 days, or reprocess promptly with a new lid and full time.
For field-to-jar timing, respect meat spoilage limits before meat ever reaches the cutting board.
Botulism Prevention Essentials
Clostridium botulinum thrives in anaerobic, room-temp, low-acid jars.
- Never water-bath meat, and never shorten times.
- Do not can giant uncubed roasts—heat penetration tests assume cubes.
- Discard jars that bulge, leak, spurt liquid on opening, smell wrong, or show mold. When in doubt, throw it out—do not taste-test suspect jars.
- Boiling leftovers before eating is an extra caution some households use; it does not fix under-processed jars that already produced toxin in storage—prevention is the process itself.
If you hunt in CWD zones, follow carcass and disposal rules before processing; see the CWD guide.
Meal Uses and Batch Planning
A pint often feeds 1–2 people in a skillet meal; quarts suit family stews.
Ideas:
- Chili and taco meat (drain or reduce broth)
- Shepherd’s pie topping base
- Quick stroganoff over egg noodles
- Emergency camping protein (when glass transport is smart-packed)
Plan batches by freezer overflow: can 10 to 20 pounds of trim after steaks are wrapped. Pair with jerky projects if you like shelf variety—venison jerky uses different cuts and methods.
Gear Checklist
- Pressure canner with working gauge/weight
- Pint and quart jars, new flats, bands
- Jar lifter, funnel, headspace tool, clean towels
- Sharp boning knife and large cutting boards
- Permanent marker for dates
- Notebook of altitude PSI and times for your kitchen
Common Canning Mistakes
- Water-bath “because grandma did vegetables that way”
- Leaving thick fat on cubes
- Overfilling past 1-inch headspace (seal failures)
- Reusing flat lids
- Guessing time because the kitchen got busy
- Canning meat of questionable freshness
Kitchen Workflow for Big Batches
Process in stations to keep meat cold and jars consistent:
- Trim and cube only what you will can in the next hour; keep the rest refrigerated below 40°F.
- Pre-stage clean jars, lids in warm water per lid instructions, and tools on sanitized towels.
- Pack jars, wipe rims twice, load canner.
- While processing, prep the next batch of cubes or wash equipment.
- Cool, check seals, wash jars, label, and shelve before you start chatting or watching TV—distraction causes skipped timers.
A typical evening run might be 14 pints. Plan freezer thaw space the day before so you are not canning half-frozen blocks that pack poorly.
Flavor Variations Within Safe Rules
You can add limited seasonings without changing density much—always defer to tested extension guidance:
- Canning salt only is classic and flexible for later recipes.
- Some tested recipes allow small amounts of bouillon or garlic; do not invent oil-layered “confit” jars.
- Never thicken with flour, rice, pasta, or dairy in the jar—those change heat penetration and are unsafe in DIY meat canning.
- Add gravy, cream soups, and vegetables when you open the jar to cook the final meal.
Keep experiments in the skillet, not in the untested jar. Food safety is the brand of a responsible hunter’s pantry.
Field Notes and Practical Numbers Use these benchmarks to keep decisions concrete rather than vague:
- Log every sit with date, wind direction, temperature, and deer observations—patterns appear after 8 to 12 recorded hunts on the same property.
- Limit first-time pressure on a hot pin to one quality sit, then rest at least 24 to 48 hours unless the rut calendar demands otherwise.
- Carry a short checklist in your phone notes so gear and safety steps do not depend on memory at 4:30 a.m.
- Revisit your plan weekly during the season; crops, pressure, and breeding phases change the right answer.
- When in doubt, choose the option that leaves mature deer less educated for the next sit—longevity beats one burned encounter.
These habits compound across a season and across years on the same ground.
Successful hunters treat preparation as part of the hunt itself. Write down what worked, what failed, and what you will change next time. Small improvements in access, timing, and patience usually matter more than buying another gadget. Stay flexible after weather swings, keep safety non-negotiable, and measure success by clean opportunities and ethical recoveries—not only by antlers on the wall. Over a full season, disciplined routines outperform random hard hunting.
Troubleshooting Weak Seals and Cloudy Broth
- Weak seals: Chipped rims, fat on the sealing surface, over-tight bands, or reused flats. Reprocess with a new lid only if within recommended time windows—or refrigerate and eat.
- Cloudy broth: Often harmless minerals or starch from meat; smell and seal check matter more than clarity.
- Siphoning (liquid loss): Pack less tightly, keep steady pressure, avoid rapid cooling.
- Dry top meat: Common with raw pack; still safe if processed and sealed—cover with broth when reheating for palatability.
- Floating fat beads: Trim harder next batch; skim when you open jars for meals.
Keep a canning log: date, altitude PSI, times, and jar counts. Patterns in failures are usually process habits, not bad luck.
Frequently Asked Questions
Can I put a whole roast in a quart jar?
No. Tested times assume cubed meat. A solid roast may stay under-processed in the center.
Do I need to cook canned venison again?
It is already cooked. Reheat for palatability in recipes; you can eat it cold if the seal and process were correct.
Can I reuse lids and jars?
Reuse jars and bands if in good shape. Never reuse the flat lid’s sealing compound for a new process.
Why is my jar short on liquid after processing?
Common with raw pack. As long as meat was processed correctly and the seal is good, it is usually still safe—liquid levels vary. Follow extension guidance if meat is exposed and you are unsure.
How long does canned venison last?
Best quality is often within 2 to 3 years. Inspect every jar before use. Longer storage increases quality loss even when seals hold.
Pressure canning is the homestead endgame of a responsible harvest: safe process, labeled shelves, and meals that taste like October long after the freezer fills. Cubes, pressure, full time—then enjoy the quiet confidence of a pantry that works when the power does not.